|
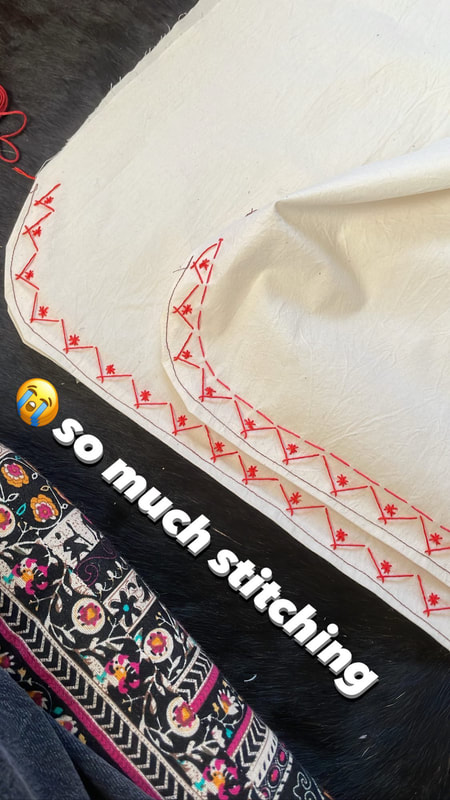
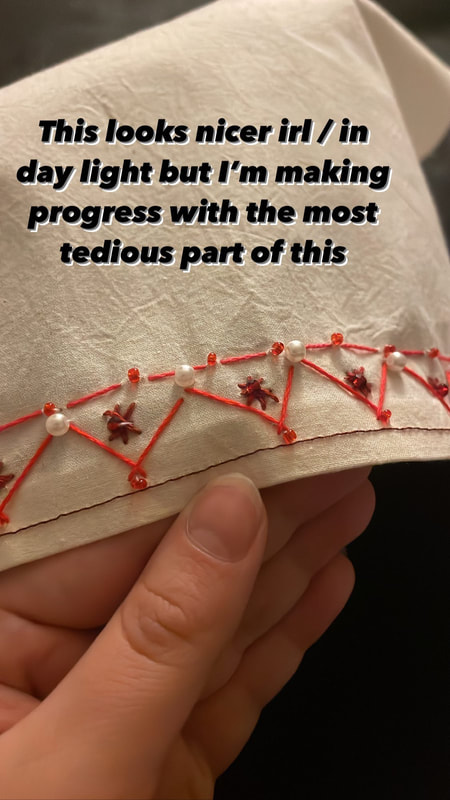
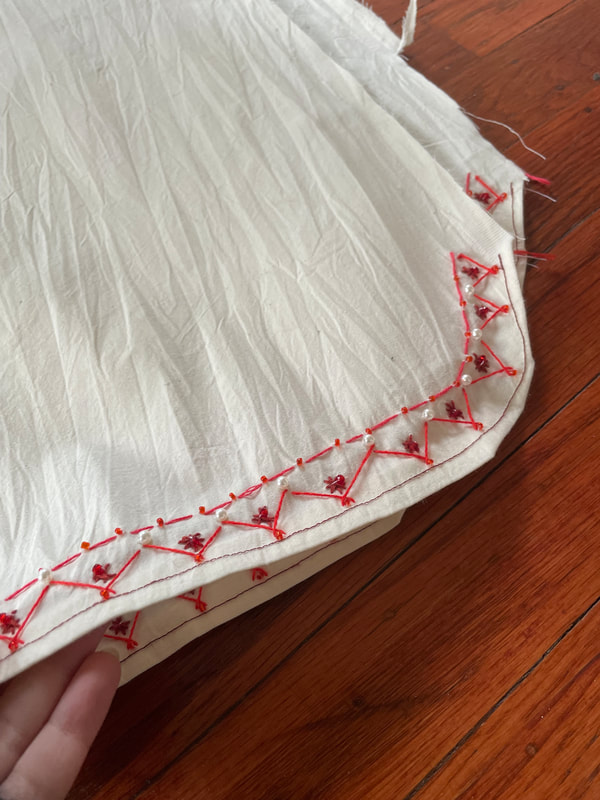
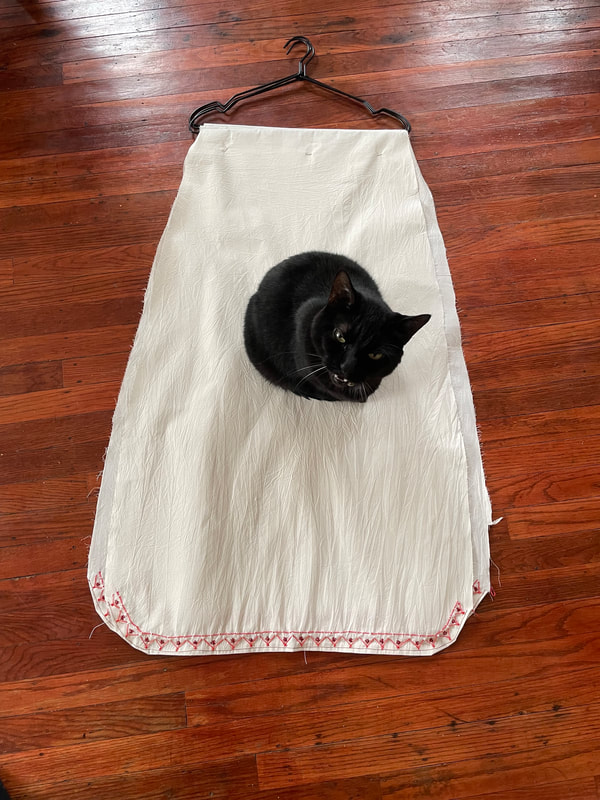
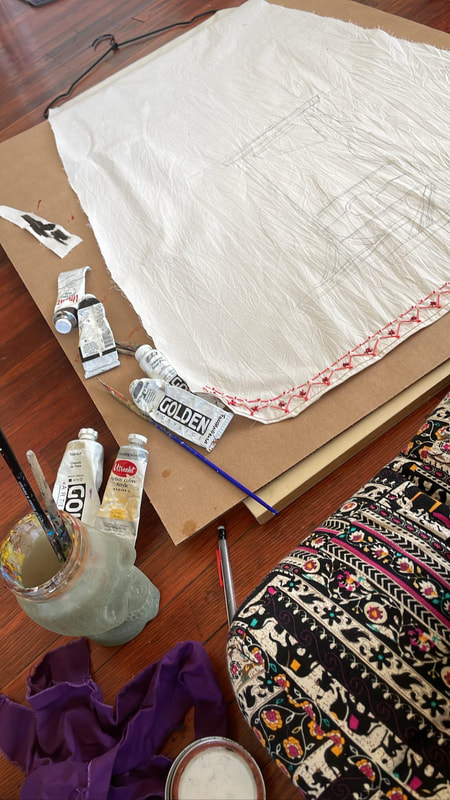
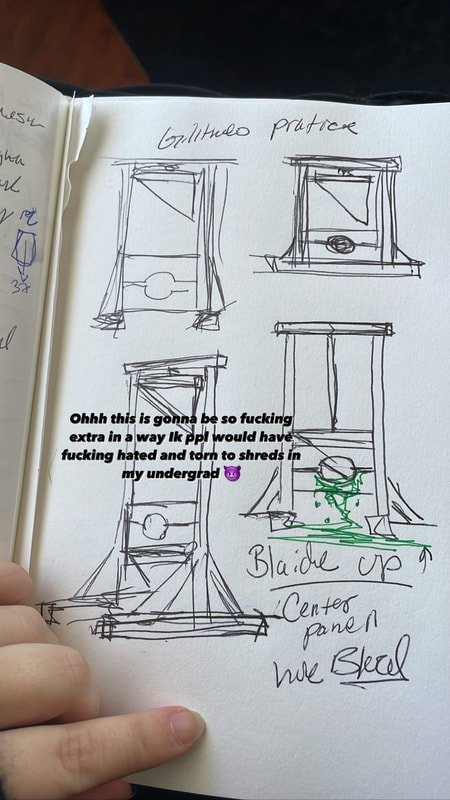
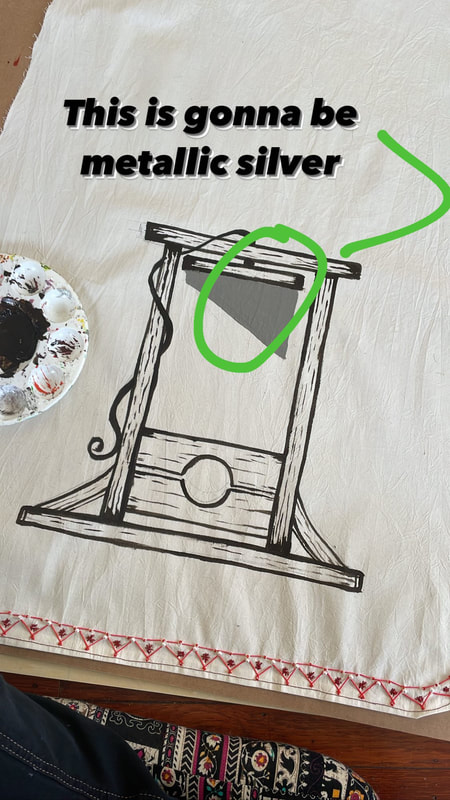
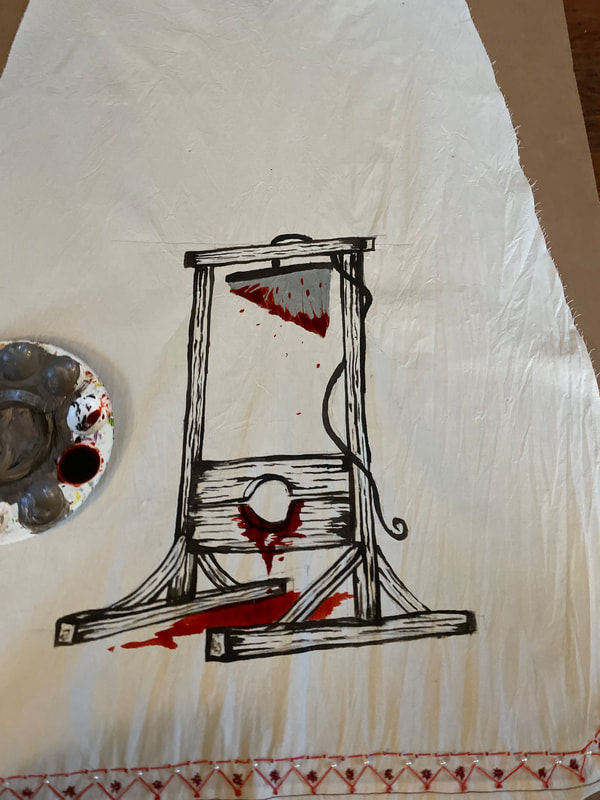
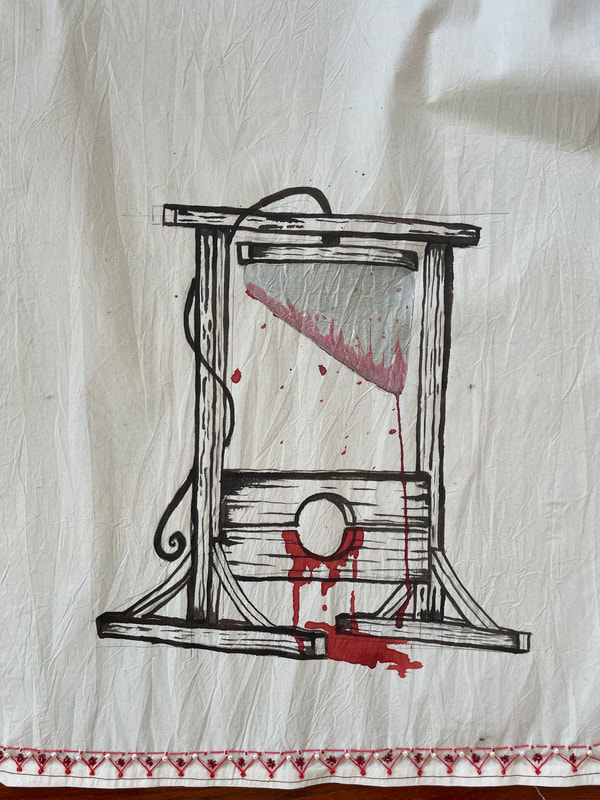
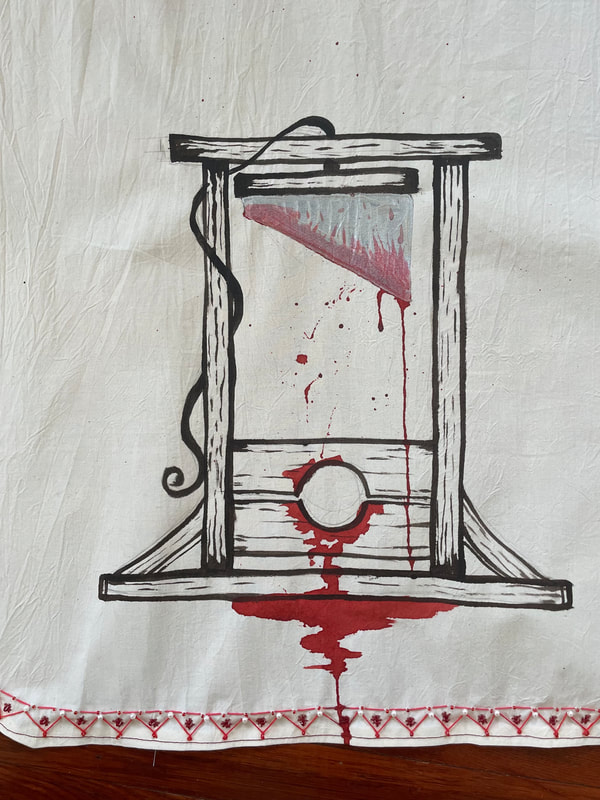
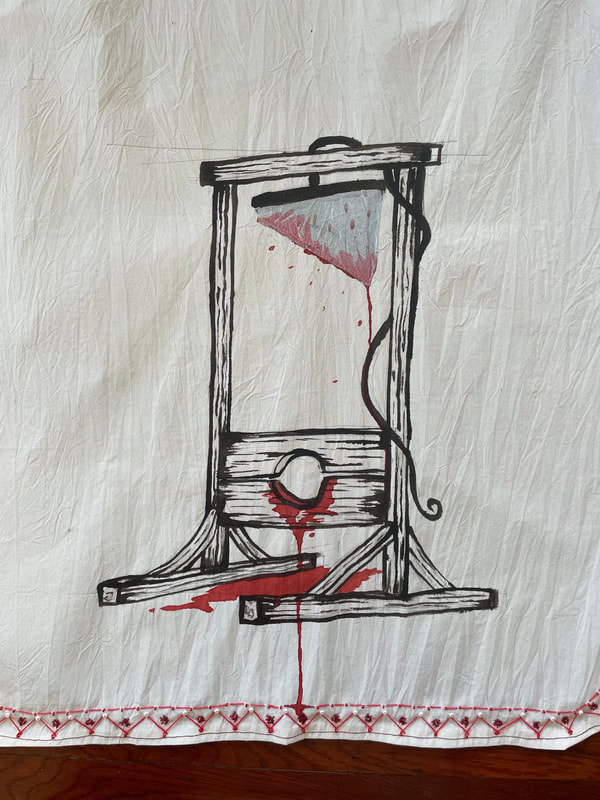
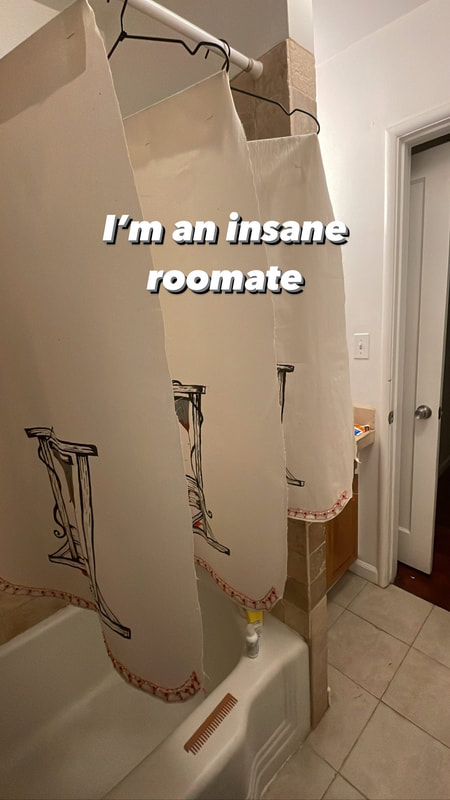
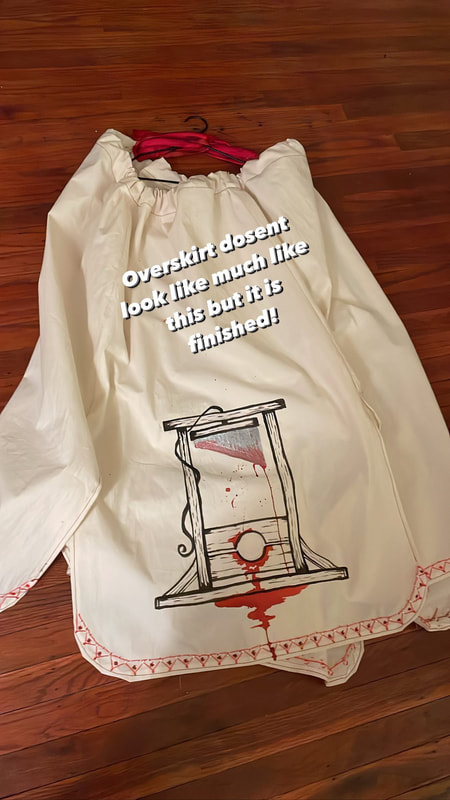
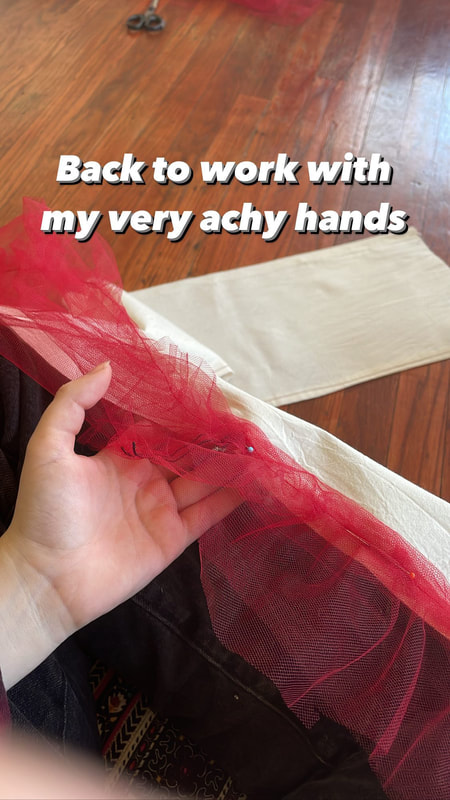
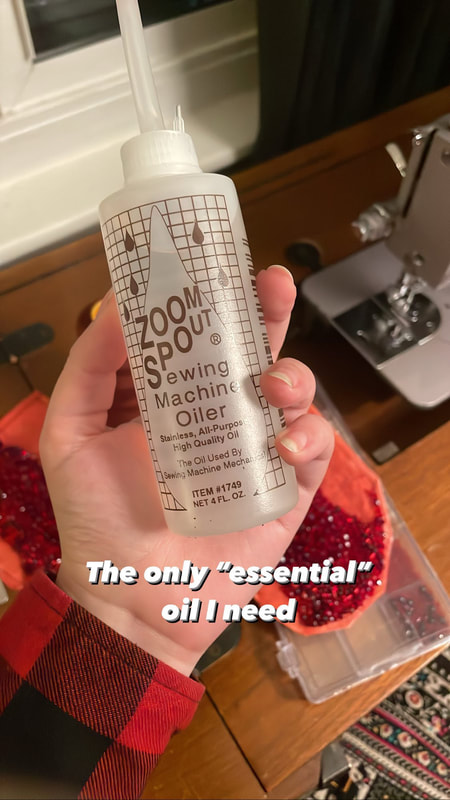
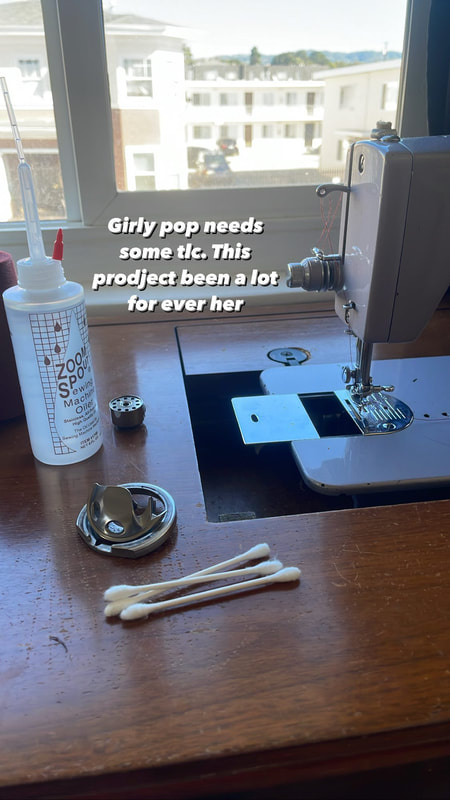
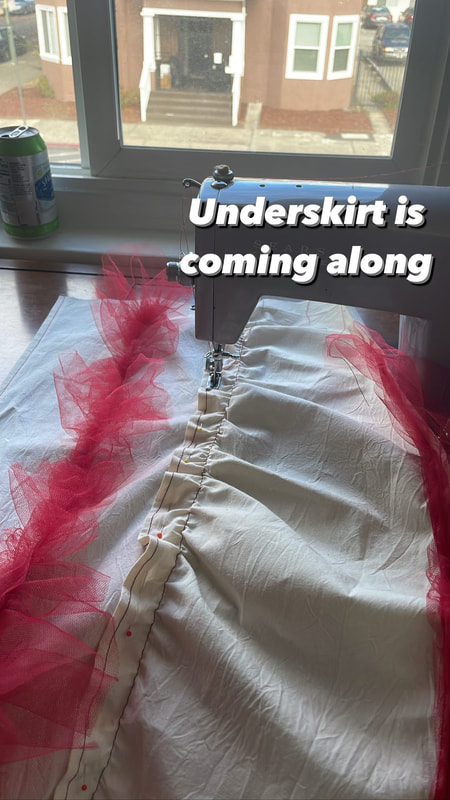
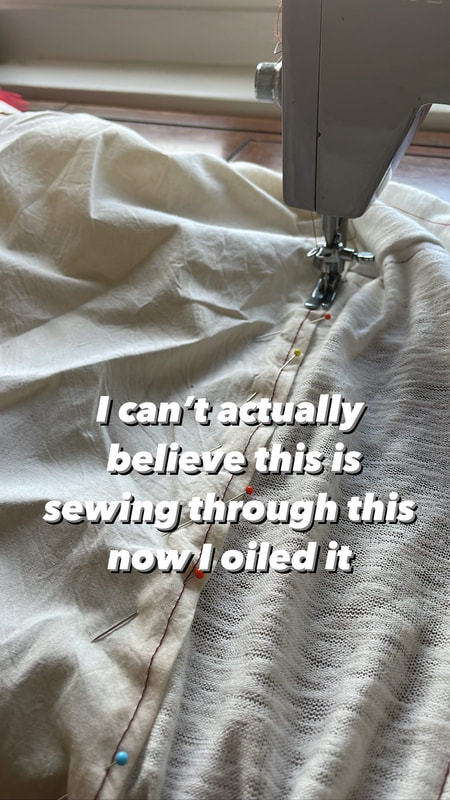
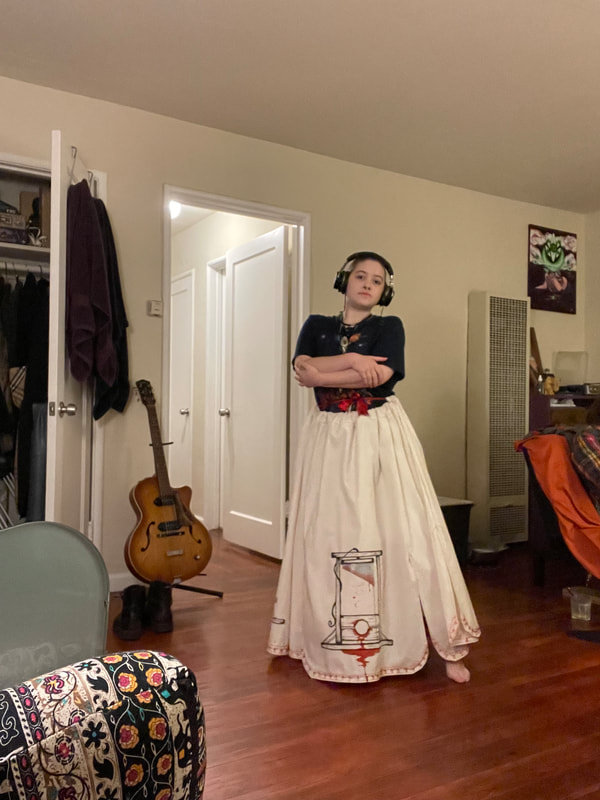
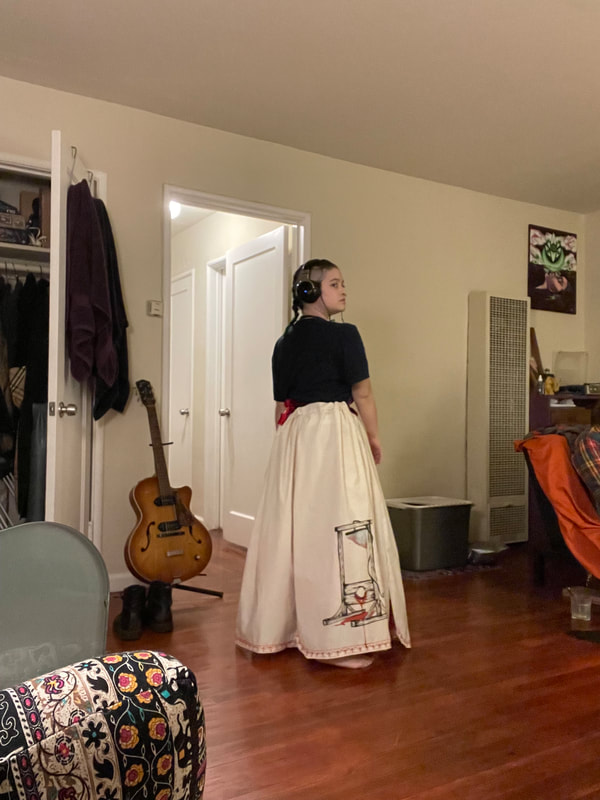
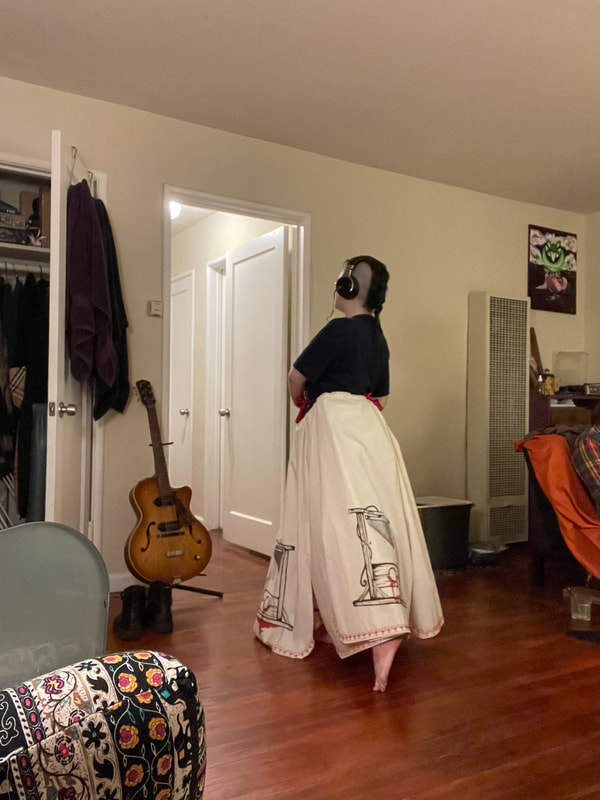
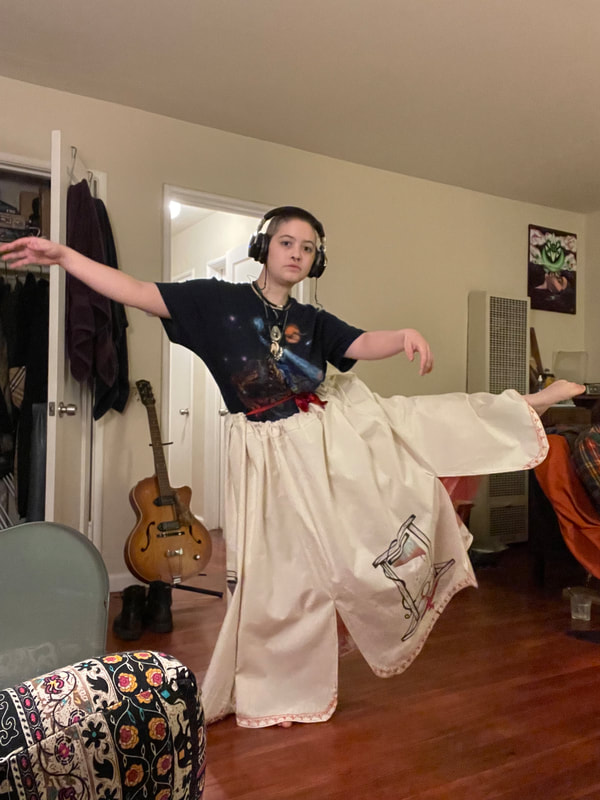
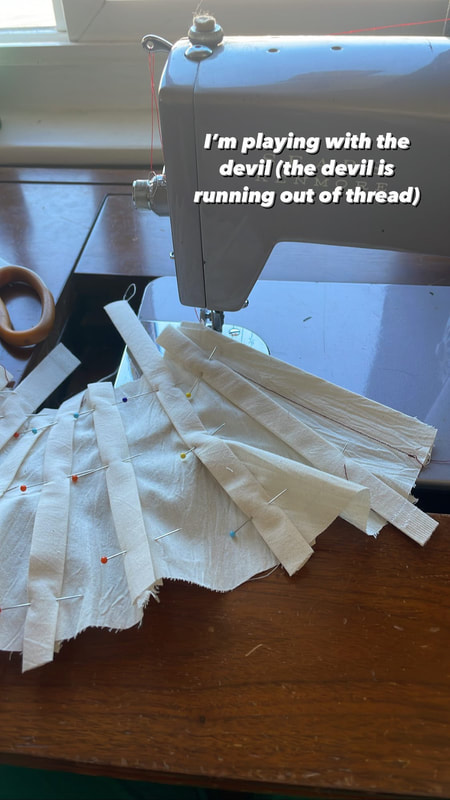
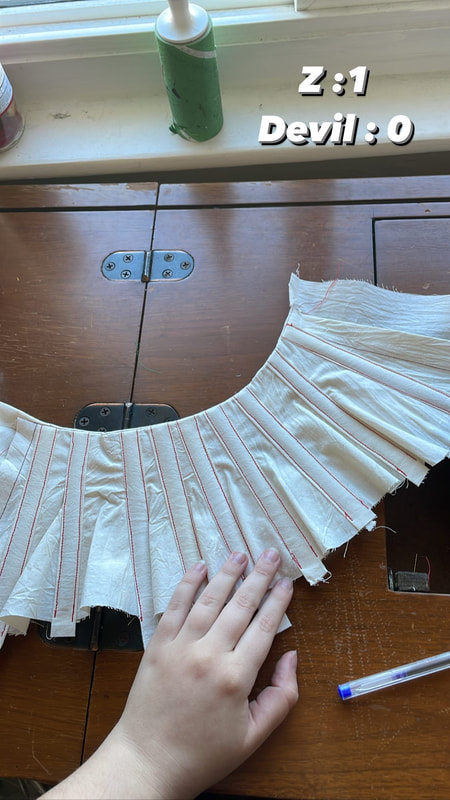
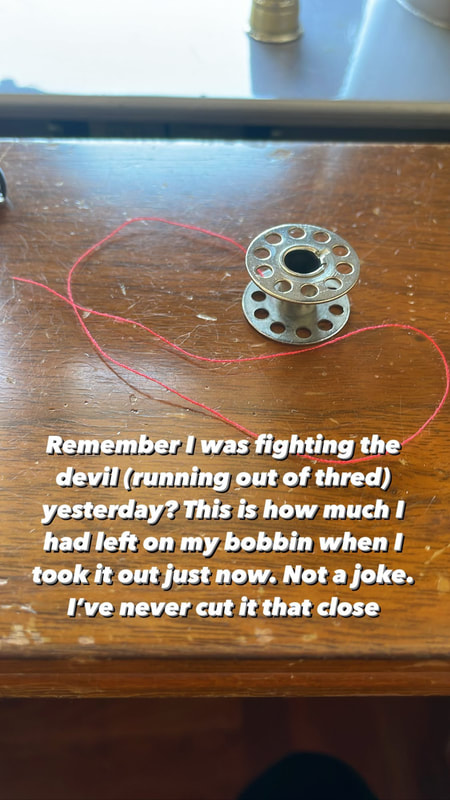
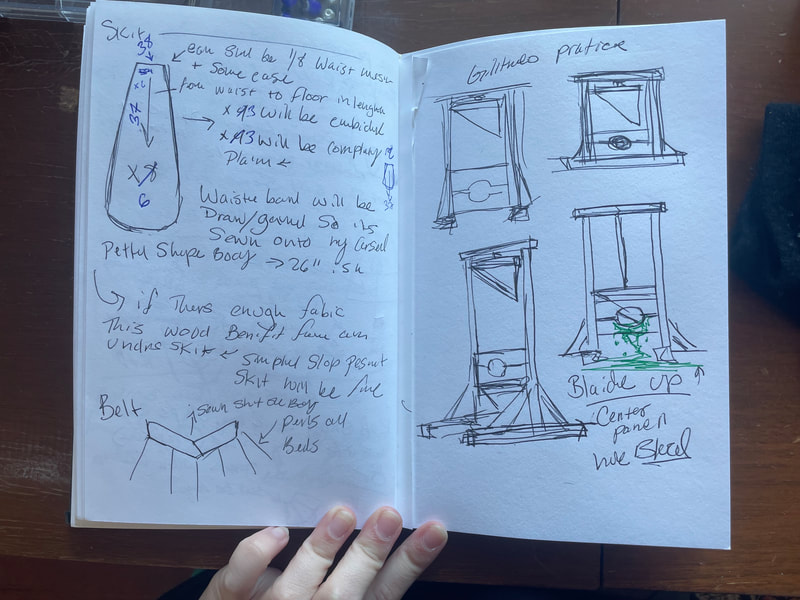
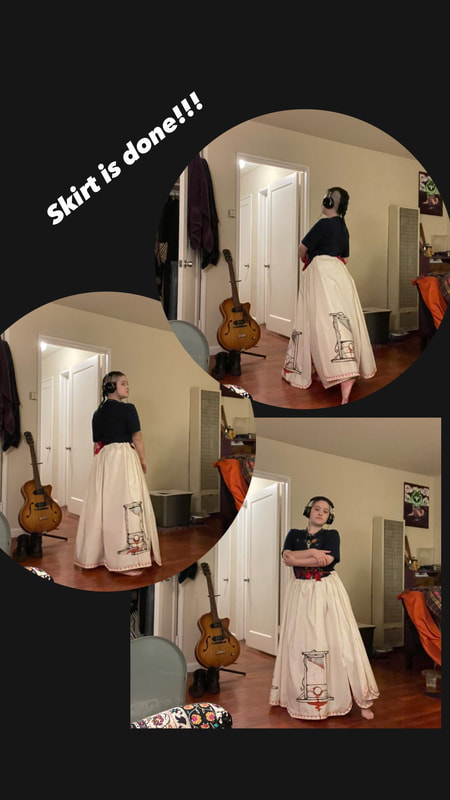
The first major step after drafting the pattern and cutting out all the pieces (6 total) was to hem all of the panels and embroider/ bead the bottom hems with a relatively simple pattern. After this 3 panels were separated out and prepped for painting. Next step was to draft some practice sketches to warm up for freehand painting. The guillotines were painted on each panel before sewing together for the sake of ease. Each one was hand painted using acrylic paint and fake blood and then hung to dry in my bathroom (hahaha). After the panels dried the entire skirt was sewn together. The main over skirt had 2 separate drawstrings to tie the first half in the front and the second half in the back. This was mostly done because of how much fabric had to be gathered in the final skirt design. Due to the shape and weight of the over skirt I deiced (somewhat last minute) to make an underskirt as a shaping0 garment so there would be better fullness in the skirt. I made it using my quick and dirty peasant skirt method but added lines of red twill for a pop of color and some extra volume. Midway through working on the skirt I had to give my machine a brake and some maintenance since it was running for a really long time during the duration of this project. That and it had been almost a year since it had last been oiled. Never underestimate the power of a well oiled machine! After finishing the skirt I decided to take some test shots and see how the movement was. Despite being almost 100% muslin it was extremely heavy still. I was really surprised how close to my original vision the final skirt came out. (Shot out to my wizard shirt making an appearance)
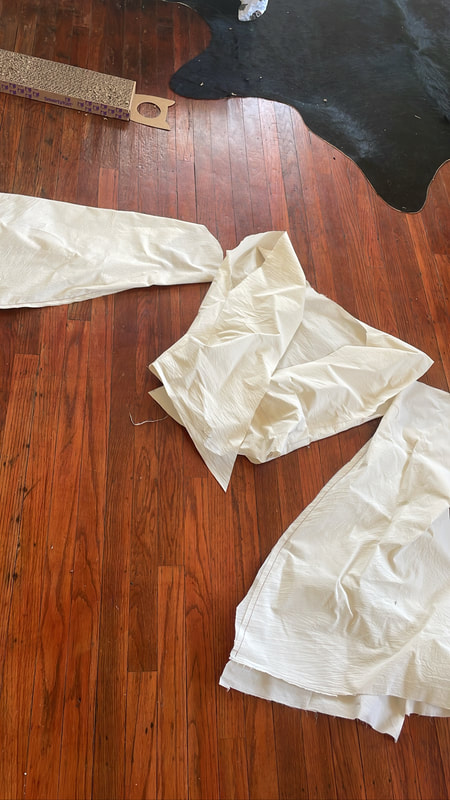
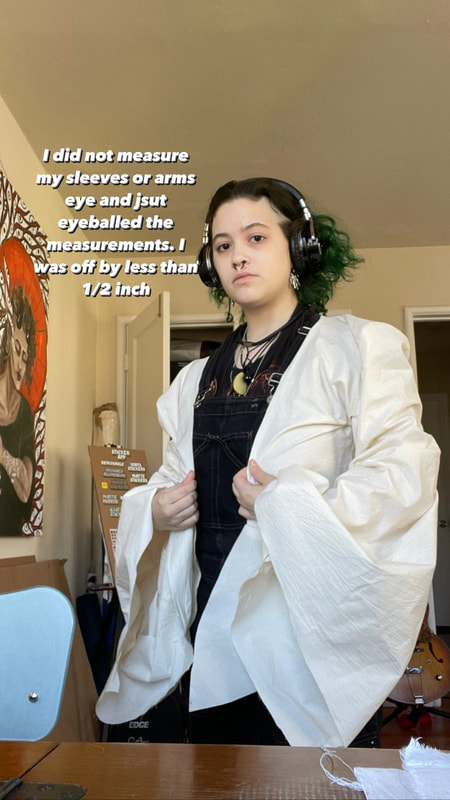
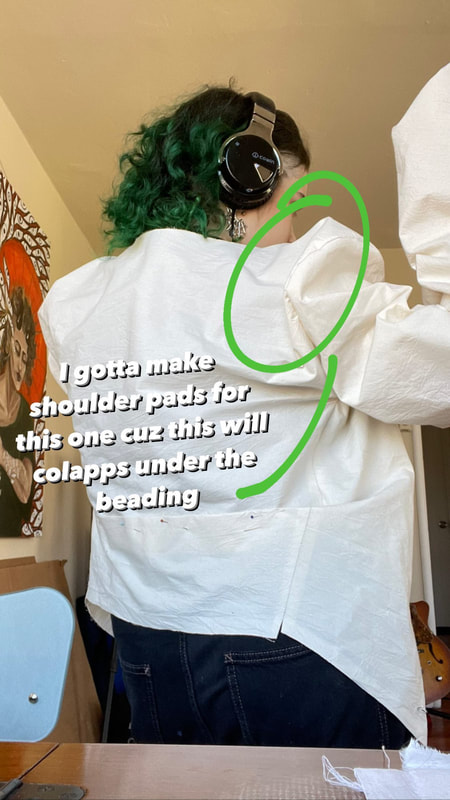
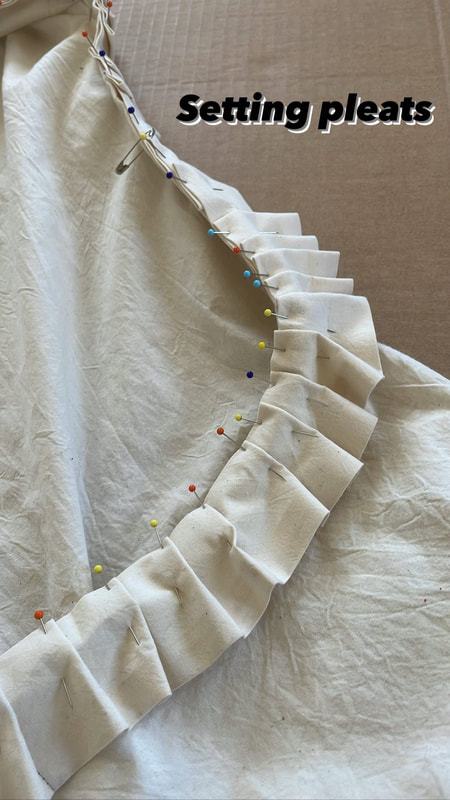
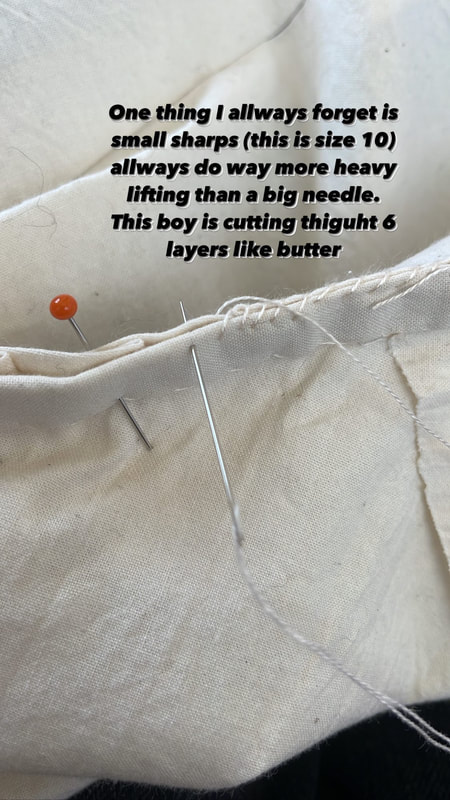
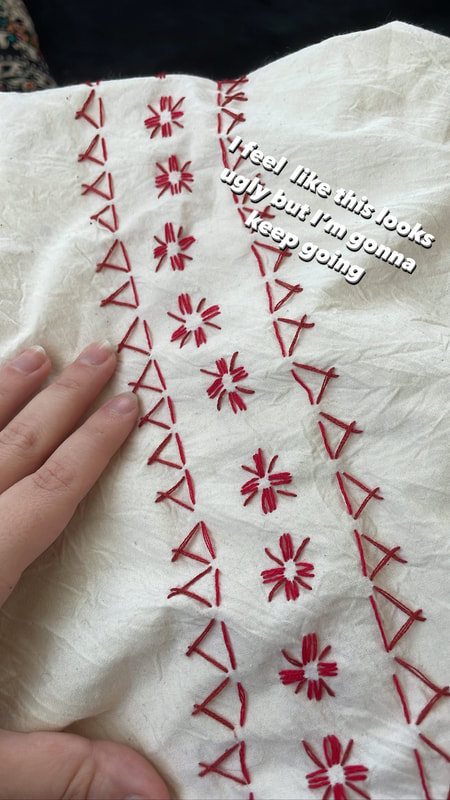
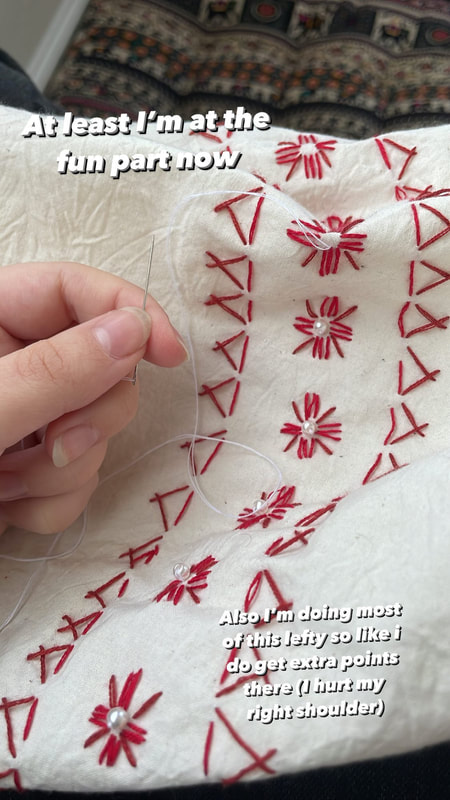
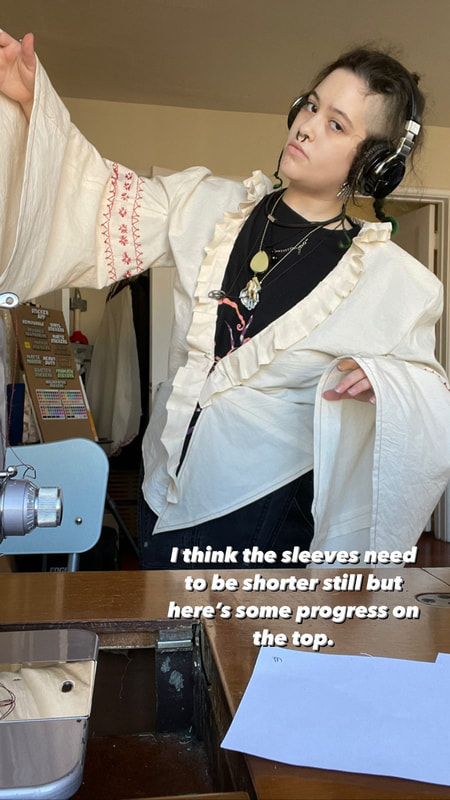
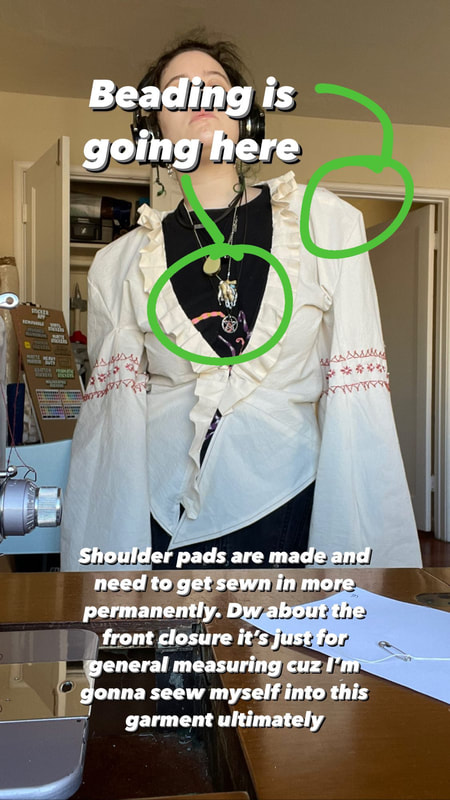
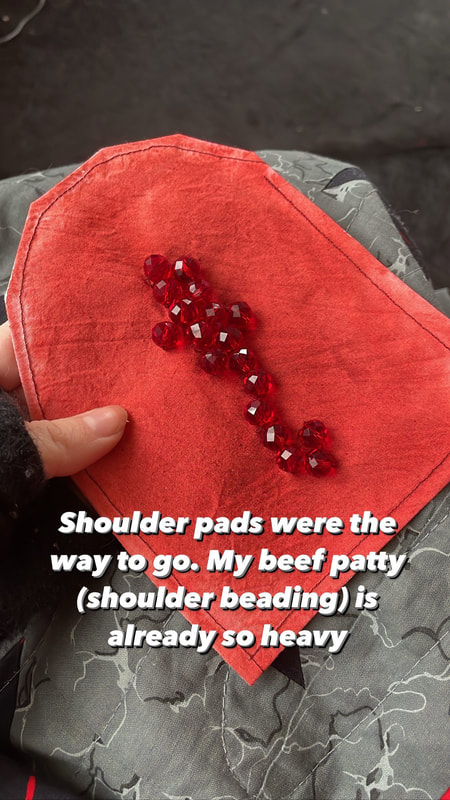
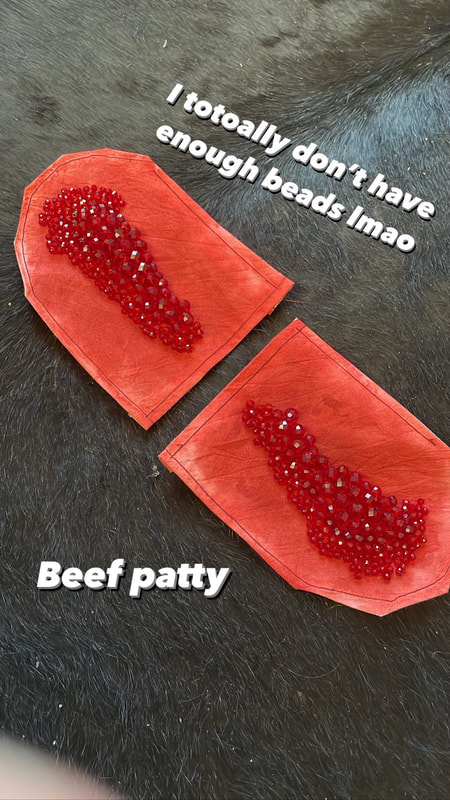
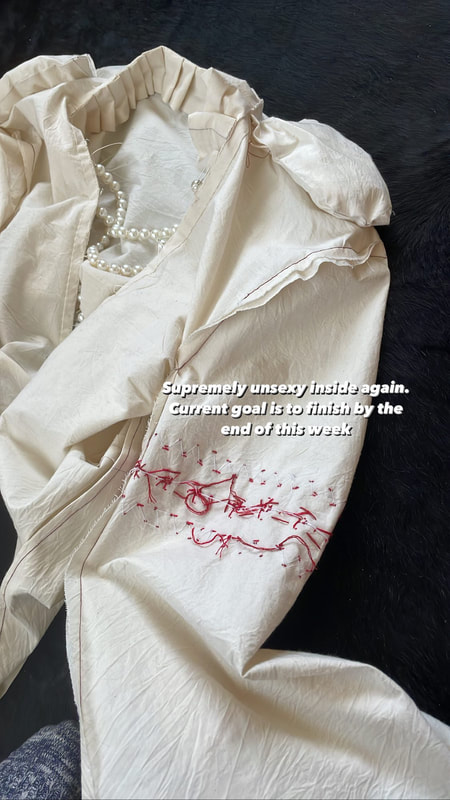
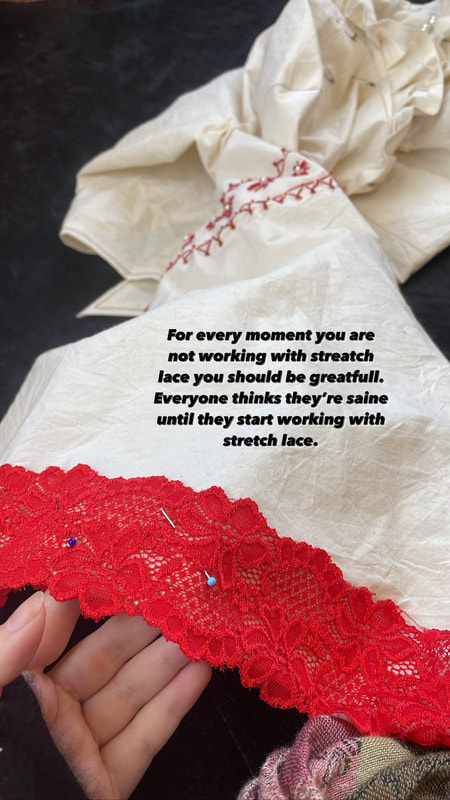
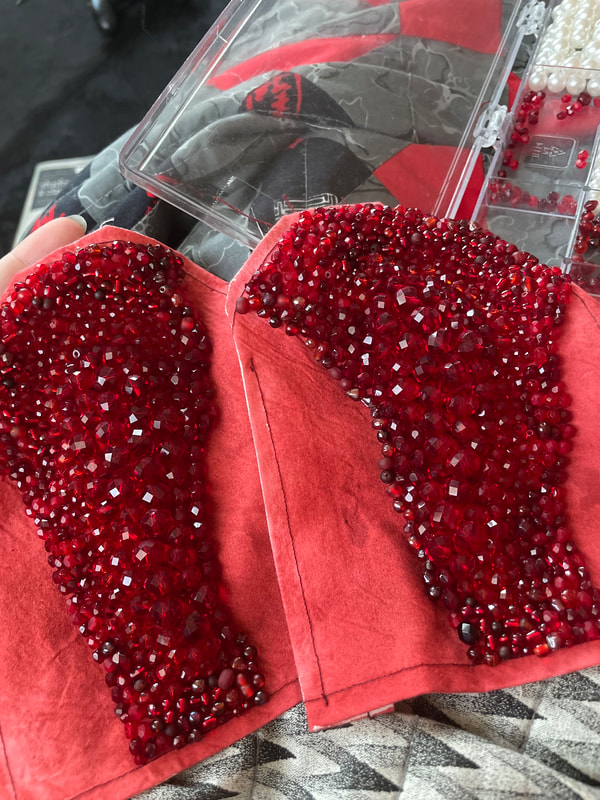
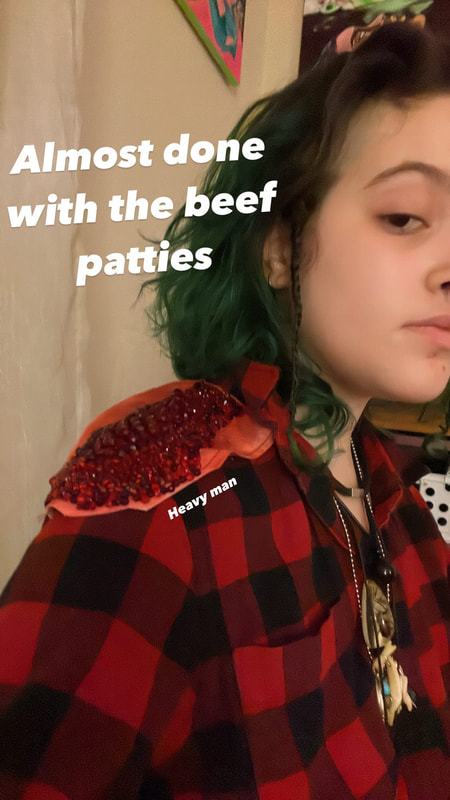
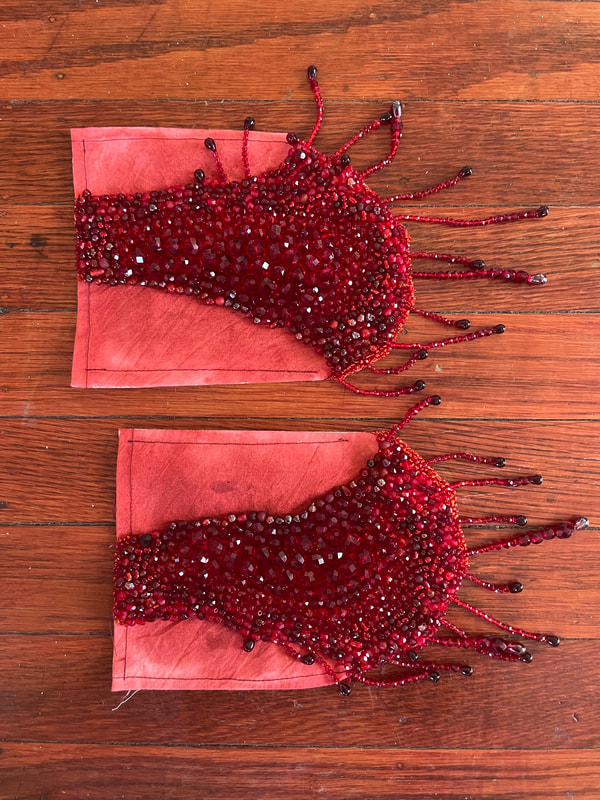
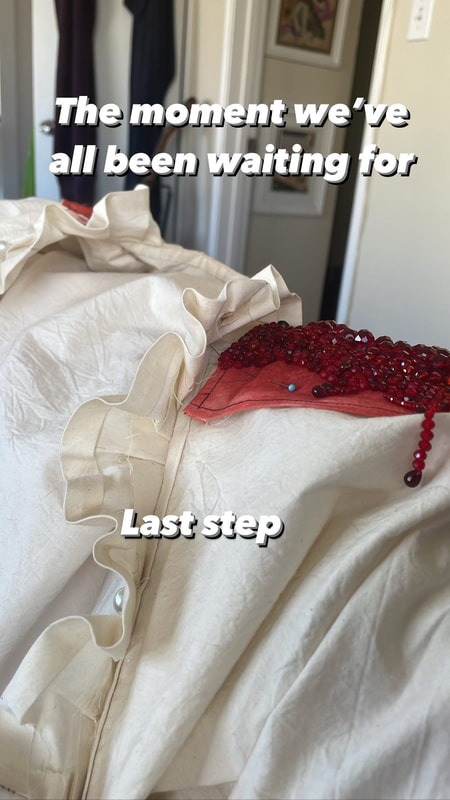
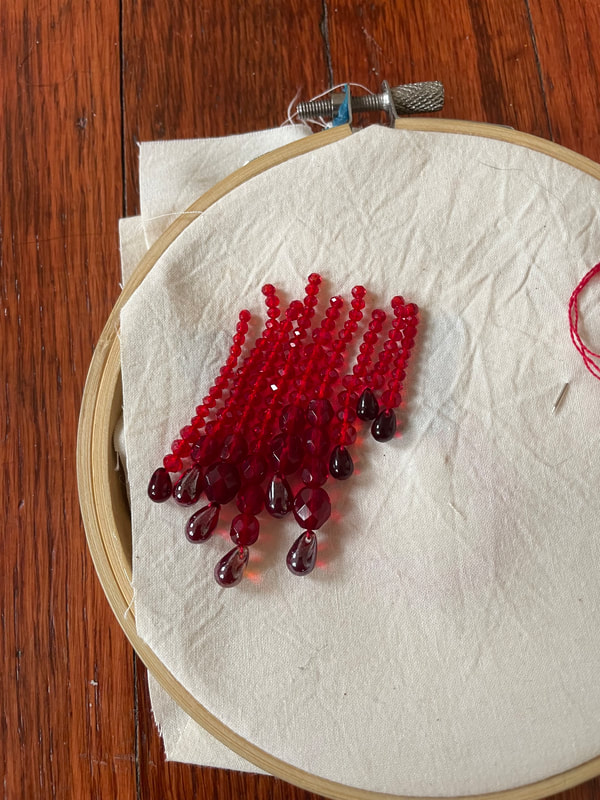
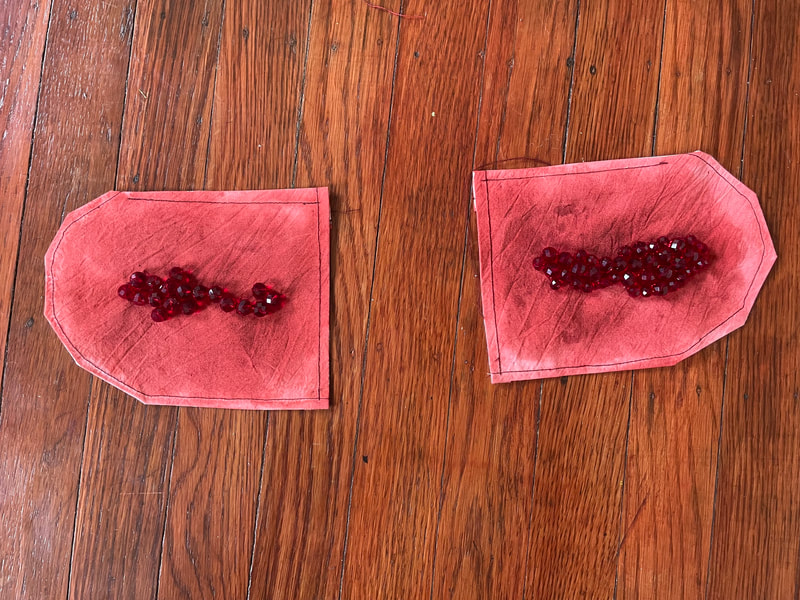
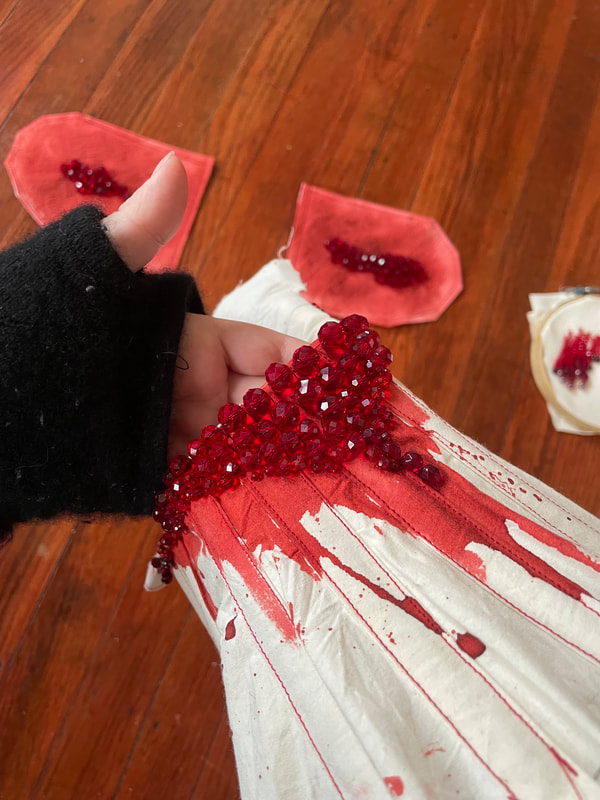
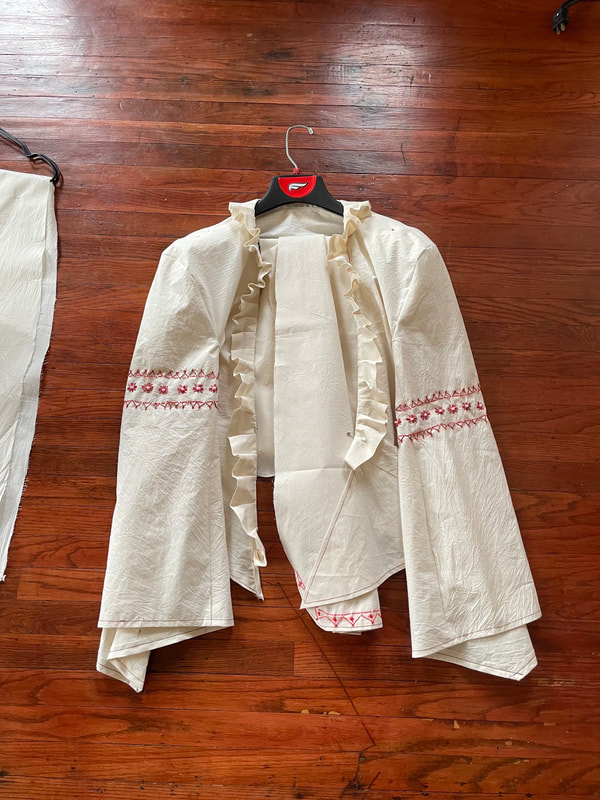
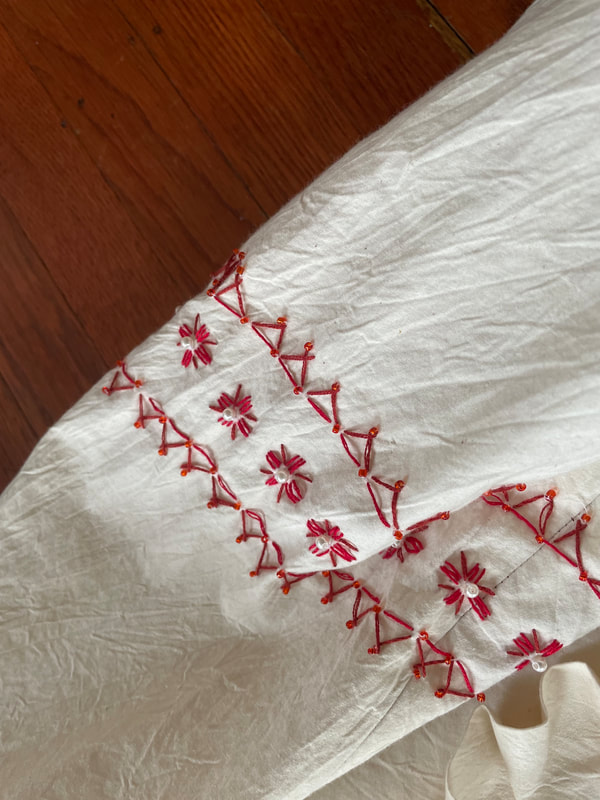
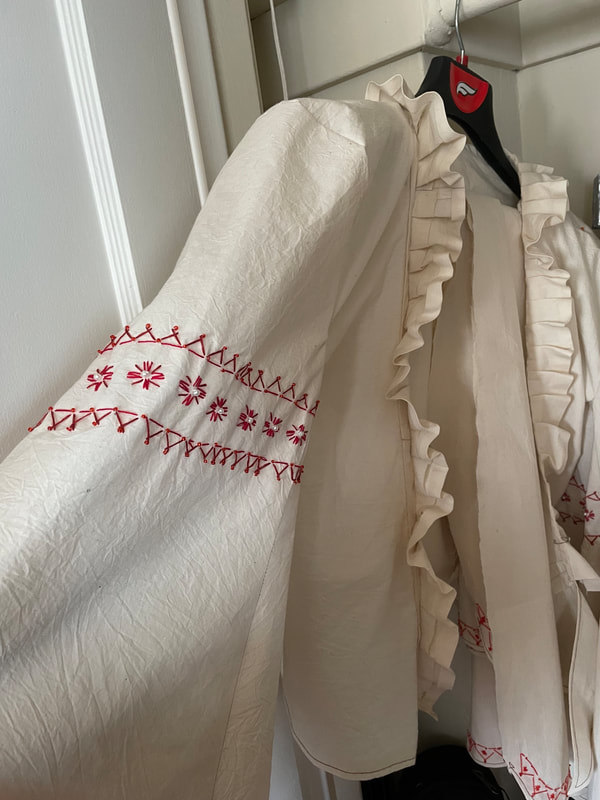
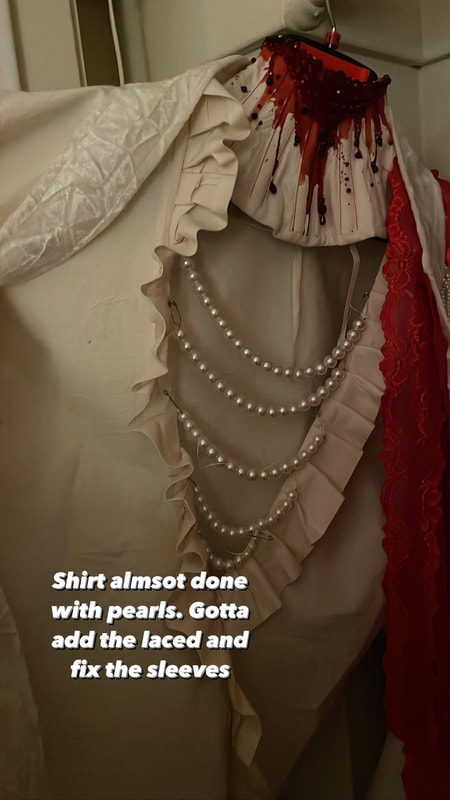
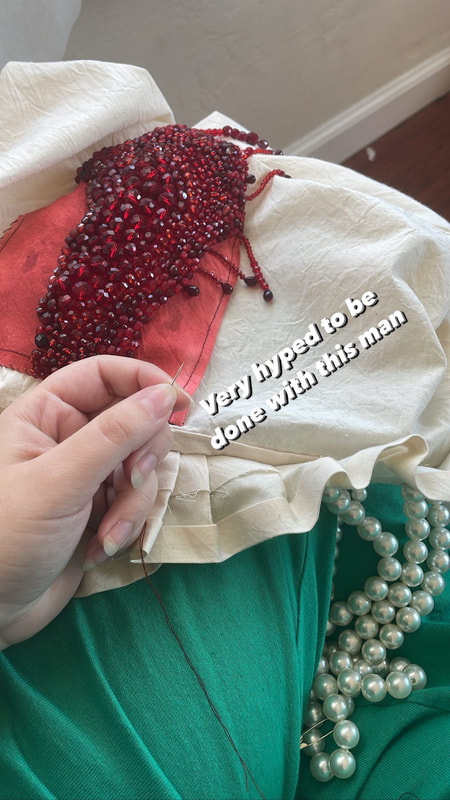
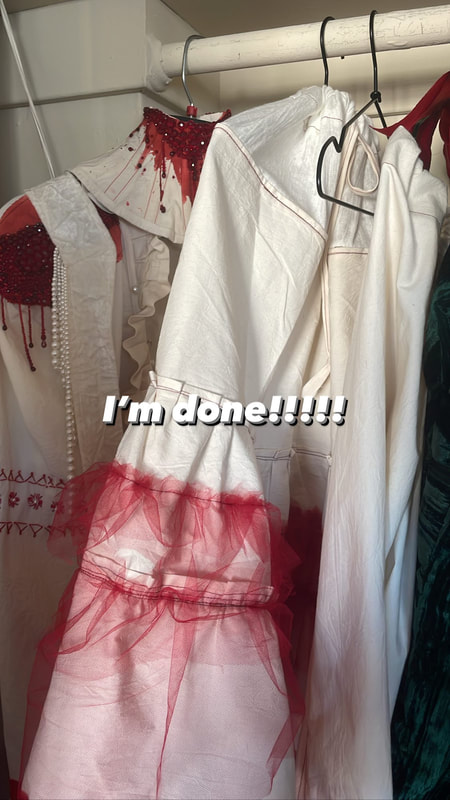
First step was to make a rough pattern basses on what I wanted the finial bodice section to look like. I also prepared a long strip of fabric that would latter become the neck ruff for this shirt. The base of the shirt went together relatively quickly. I eyeballed a lot of stuff and ended up needing to hem a few things after attaching the sleeves. Also realized my fabric was too light and that I needed to make shoulder pads for this garment in order for it to keep its shape under the weight of hundreds of glass beads. I then added on the ruff by hand which took the better part of a day. Followed by the embroidery and minor bead work on the sleeves. After all of that I did a second fitting of the piece to further tweak it including shortening the sleeves further before adding lace. I also at this point began the process of beading the shoulder pieces that would be attached. I also measured and strung the rows of pearls that were going to be used to close the front of the bodice. Around this point (November 3rd) I had to pause the beading and wait for my second order to come in before I could finish the shoulders. In the mean time I tacked in the shoulder pads so they would help the garment hold its shape. I also added the lace to the sleeves as well as some extra embellishments. I also added stings of pearls to close the front at this point. After I received my second order of beads I went back to work finishing the shoulder pieces. Each one took probably a full day of bead work, both weighing exactly 88grams each and had over 1000 glass beads each. Once they were completed they were sewn onto the bodice by hand, finishing the most complex part of this garment.
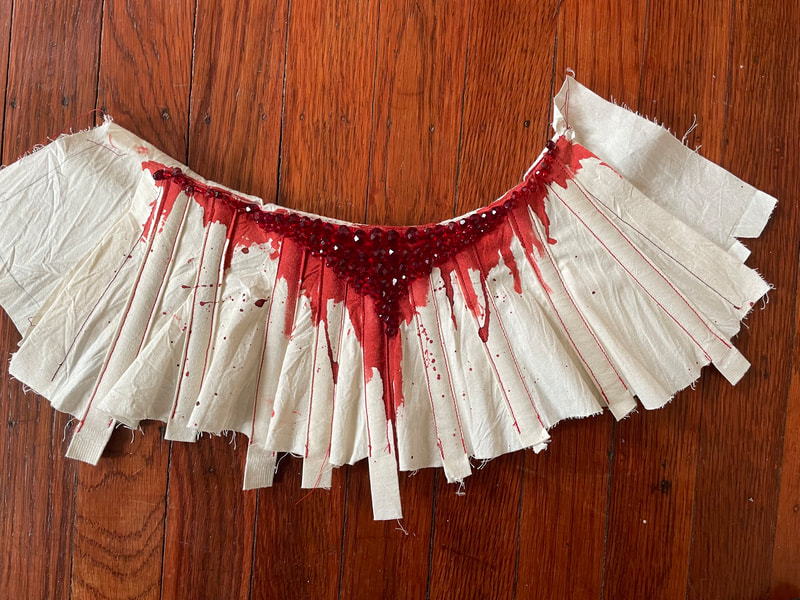
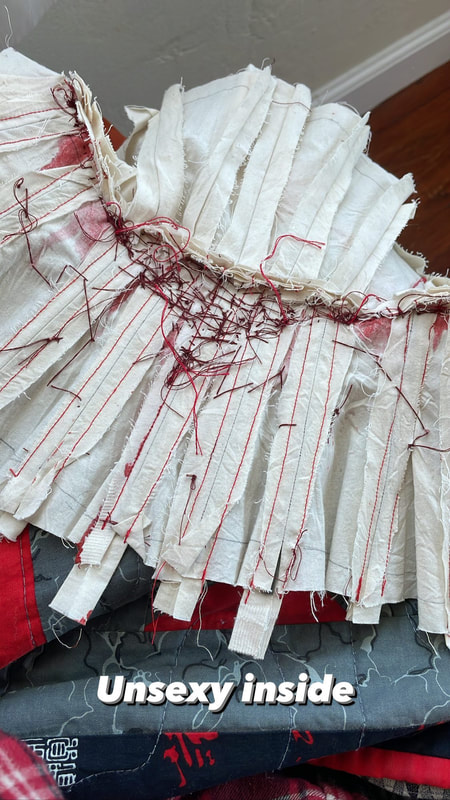
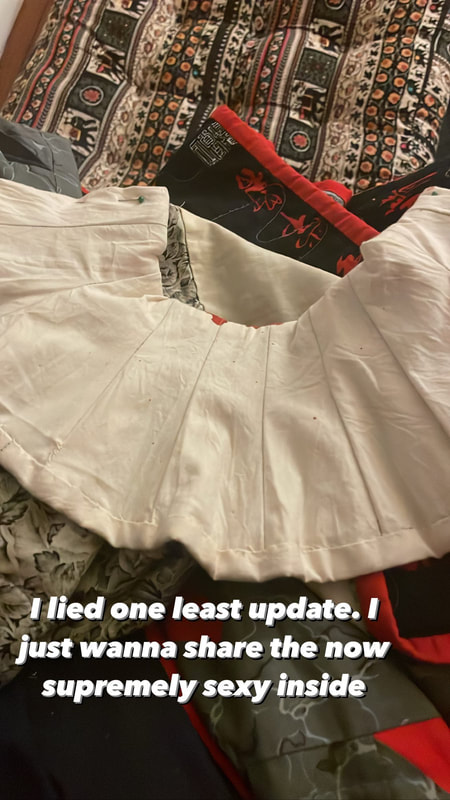
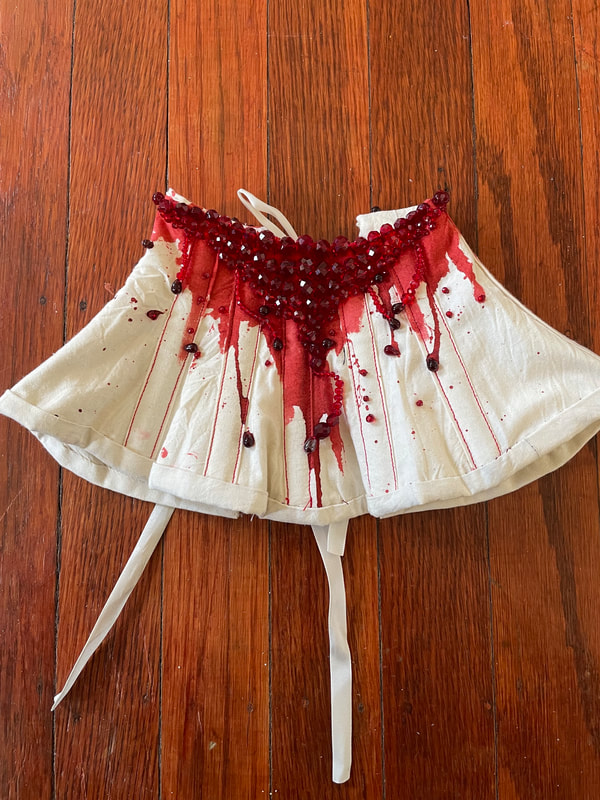
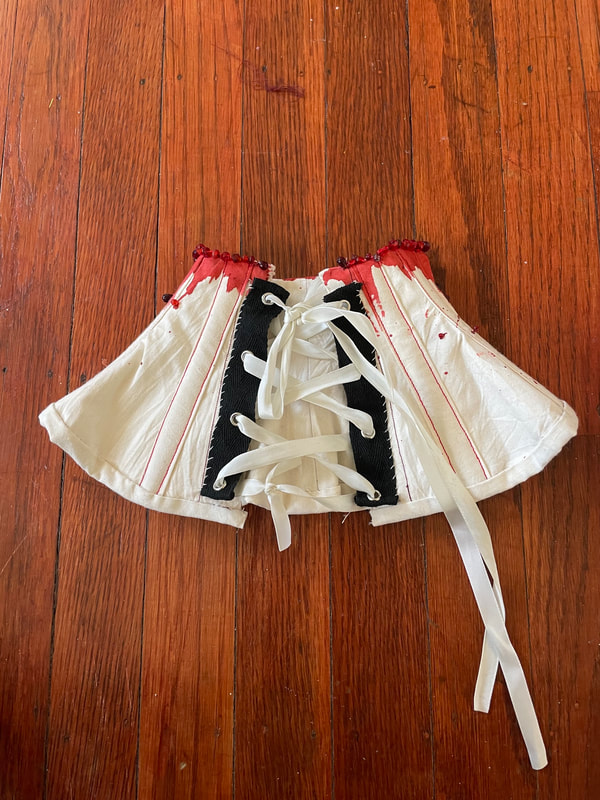
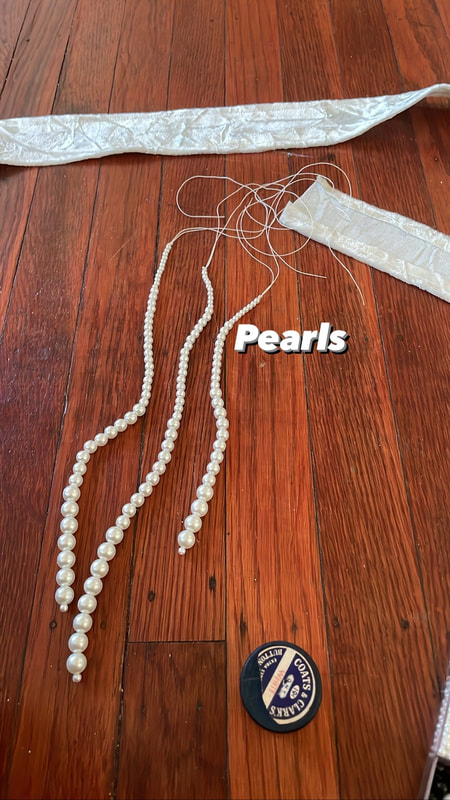
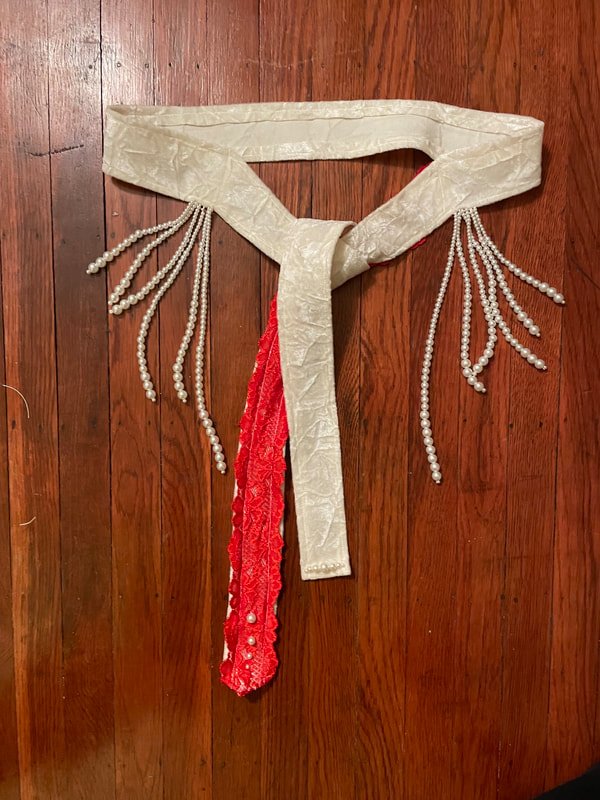
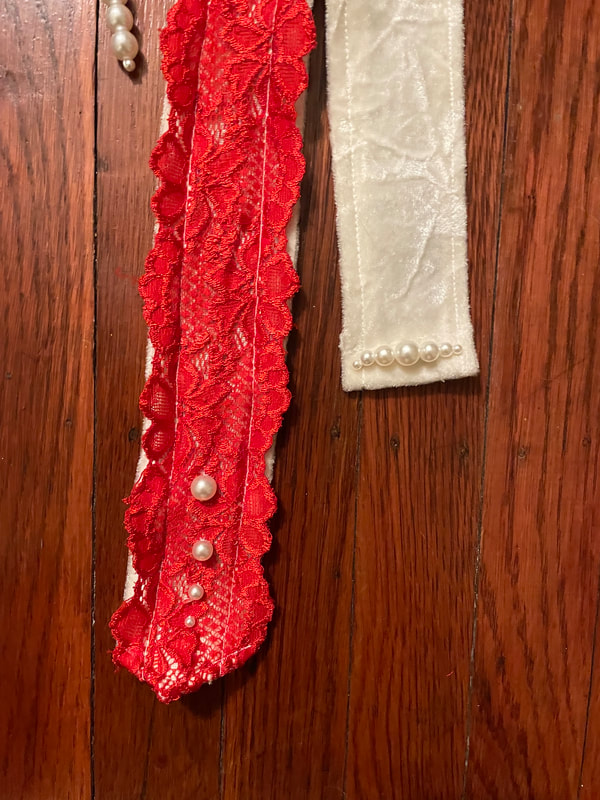
Neck Corset 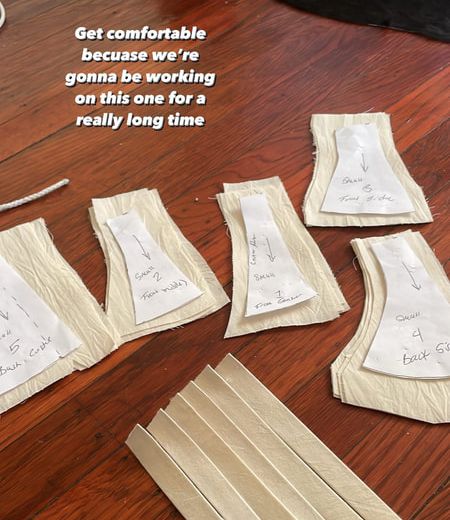 The creation of this began with heavily editing a free neck corset pattern (originally from this website here) that had since been discontinued and the creation of a mock up. After that was finished there was the laborious task of cutting out and prepping all the patter pieces (20 total!!) for this garment which was the most structurally complex component of the enter dress. Both the outer shell (with boning channels) and the inner lining had to then be sewn together to prep for beading. Plastic synthetic boning was added to the boning channels before it was dyed with fake blood and the process of bead work began. Dying and beading the neck piece alone took the better part of 14 hours (about 2 days of work) on its own. After the bead work was completed the inner lining was sewn down and basis tape was added to the bottom to close the garment. Then grommet tape was sewn to the back and white ribbon lacing was added to complete the garment. Belt The belt was extremely easy and quick compared to the rest of this outfit. It just took some fussing with my white velvet and embellishments to complete. The most laborious portion of making this part was deciding on how to sting the pearls attached the side of the peace.
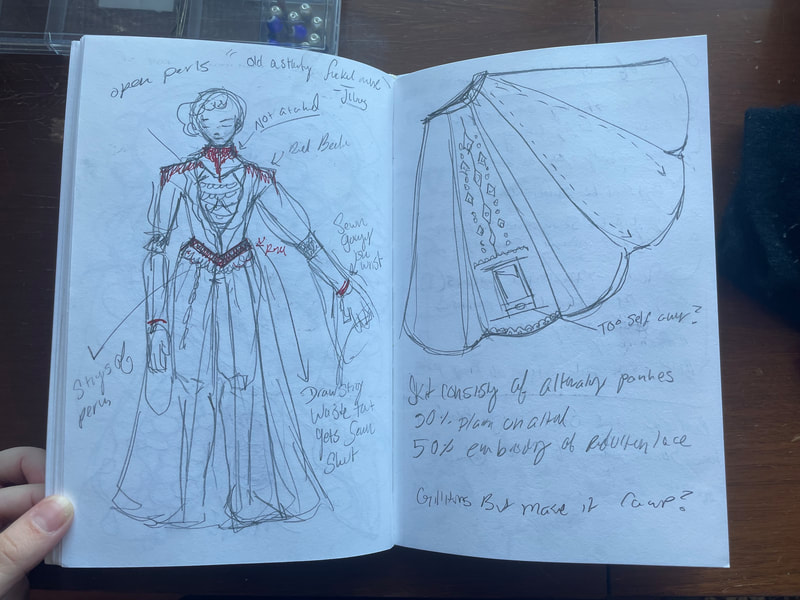
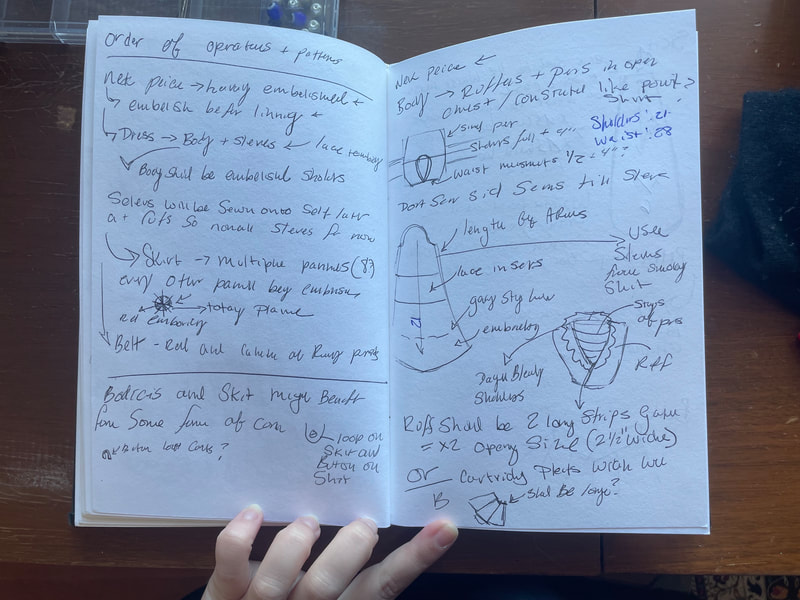
You can see more in depth and detailed behind the scenes in their individual blog posts Neck Corset + Belt | Skirt and Underskirt | Bodice This whole work began with a proposal and the general premise of the show "Let Them Eat Fake" (more details?). After the first idea was sprung the progress began with a simple sketch and overview of how I wanted to create this garment and overall how i wanted to execute this project. Below you can see the pages form my sketchbook (apologies for the wordage in the notes, I am dyslexic) 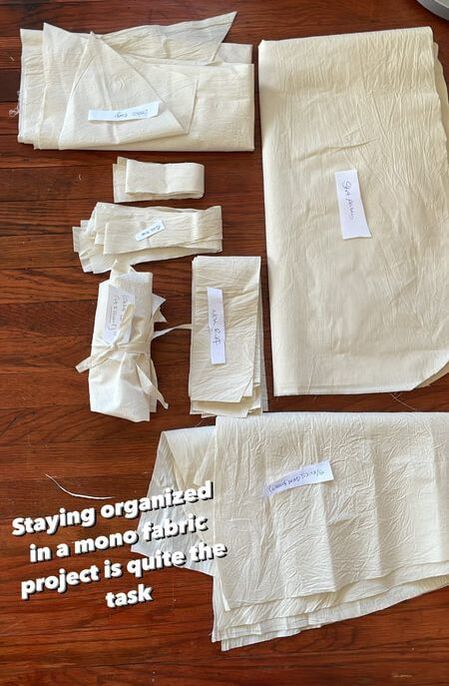 After the sketch and plan was finished and some measuring was done I moved to cutting out my fabric and patter pieces. I did this all in one step as to make sure I had enough fabric to complete the project ahead of time. After each patter peace was cut out I labeled them to keep myself form getting confused and go to work on each of the parts separately. Additionally there was a lot of material experimentation with this garment. I tried different embroidery patterns out, different types of application for fake blood, paint, ect. Around the first of November I took some progress shots to be shown to the gallery organizer. this was about the progress I had made between the start of the project (October 24th) and that day (November 1st). Keeping in mind that I was spending an average of 8 hours per day working on this.
After all of that I was ready to document the garment. in total the creation of this peace took me about one full month. If you include the documentation it took just over 30 days! I took both Polaroid photos that lived in the psychical world as well as some digital images which were purely for social media. After all that was said and done it was time to take the finished work to the gallery to install.
|
The Guillotine Dress
“The Guillotine Dress” Mixed Media (Cotton muslin, acrylic paint, glass and plastic beads, fake blood, synthetic bone, embroidery thread, synthetic lace, synthetic twill, and silk), 2022, Z. Fondanarosa Categories |
